Quickstart for OutlookPrinter
Start OutlookPrinter
Open your Outlook after you've installed 'OutlookPrinter'. First of all you will see a reminder that you use a trial edition if you didn't buy OutlookPrinter already.
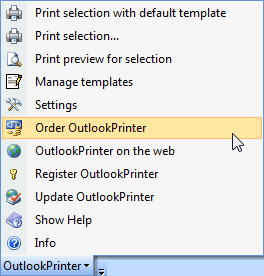
You see a new toolbar in your Outlook:
Printing with the default template
To print out your email click on 'OutlookPrinter' > 'Print Selection with default template'
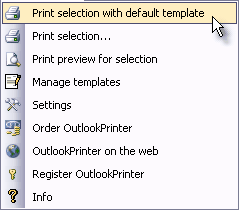
With this step your Word will be opened with the default template. The template word file is filled with the content of the selected email and this new created document is sent to your default printer.
Printing with different templates
To print your emails with a different setting you click on 'OutlookPrinter' > 'Print selection ...'
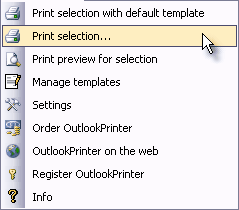
A new dialogue opens asking you what template you want to use:
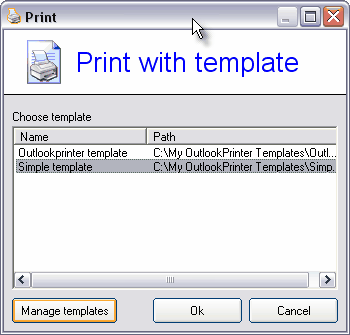
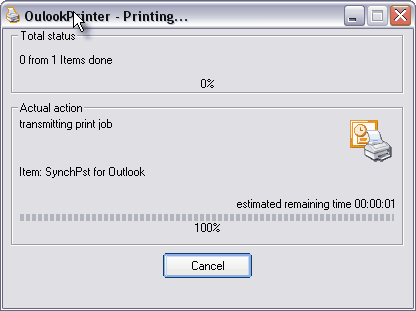
Click on the 'OK' button and the print process will be started. You see the progress in the next dialogue.
After the print a summary is displayed. Here you can see how many items were printed and what attachments couldn't be printed out because no other application was bound to this file:
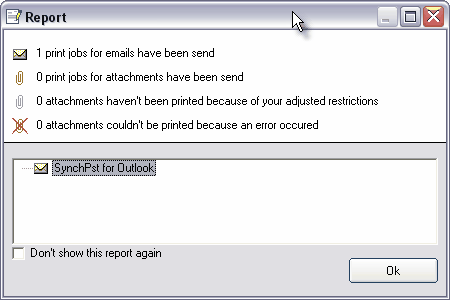
If you don't want want to see this report after every print job you can check the option 'Don't show this report again'.
This short tutorial should show you how easy it is to print out your Outlook emails with a customized email template.